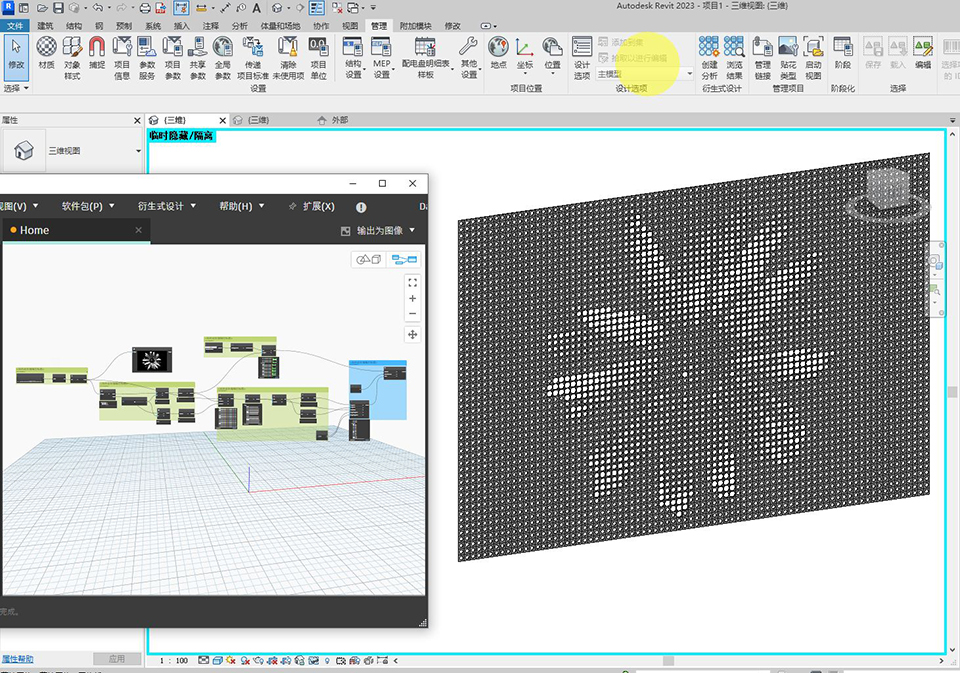
There is no similar node in Dynamo as in Grasshopper in Rhinoceros3D, but through another way, we can also make this kind of image sampling to control the size of the circle, forming a contrast and causing the image to become pixelated. In fact, the Image sampler in Grasshopper also uses a similar principle, but it is more integrated and completed through a node, while in Dynamo we need to complete these steps manually.
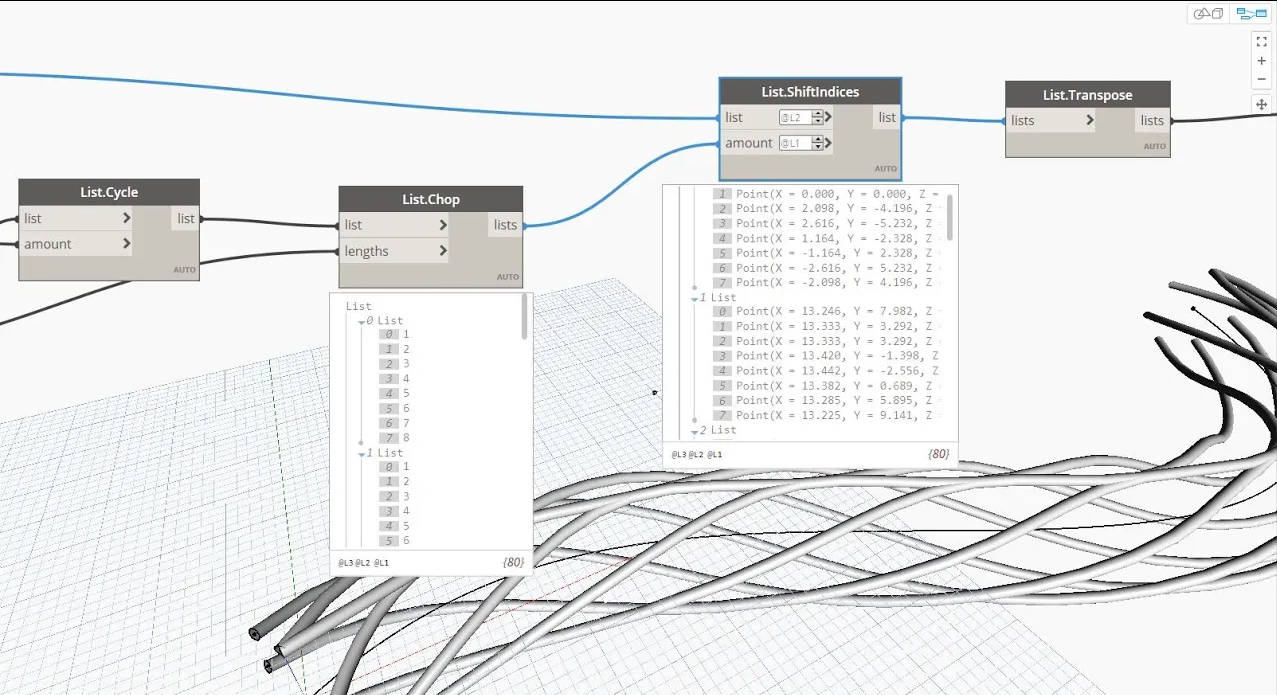
This node is very useful if you want to use regular changes in your parametric design. This is a basic skill and is often used. For example, a list [1,2,3,4,5] is transformed into [3,4,5,1,2,] after moving 2 positions using this node.
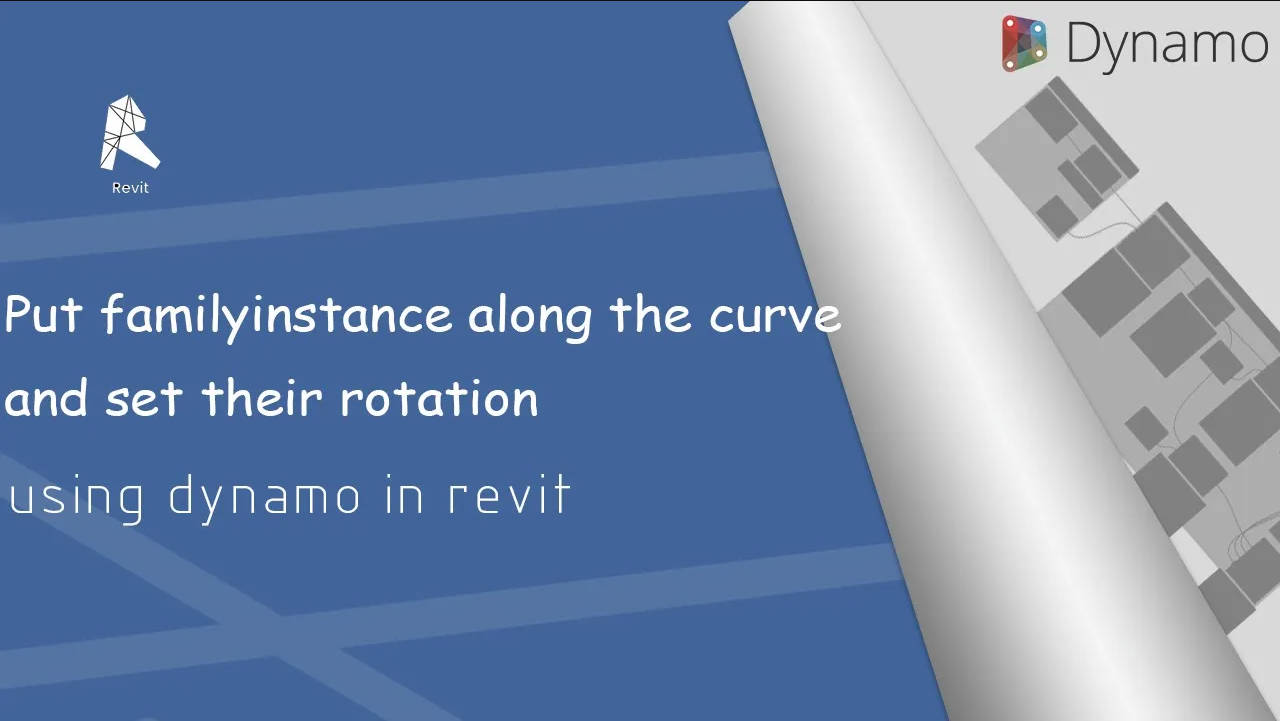
Generally speaking, placing family instances and rotating these instances are two steps, but in fact they can be done in one Dynamo script. It should be noted that these instances did not exist originally, and are generated by Dynamo, and then rotated. The execution of the script also has a sequence, otherwise the data (code) will not flow to the next step.
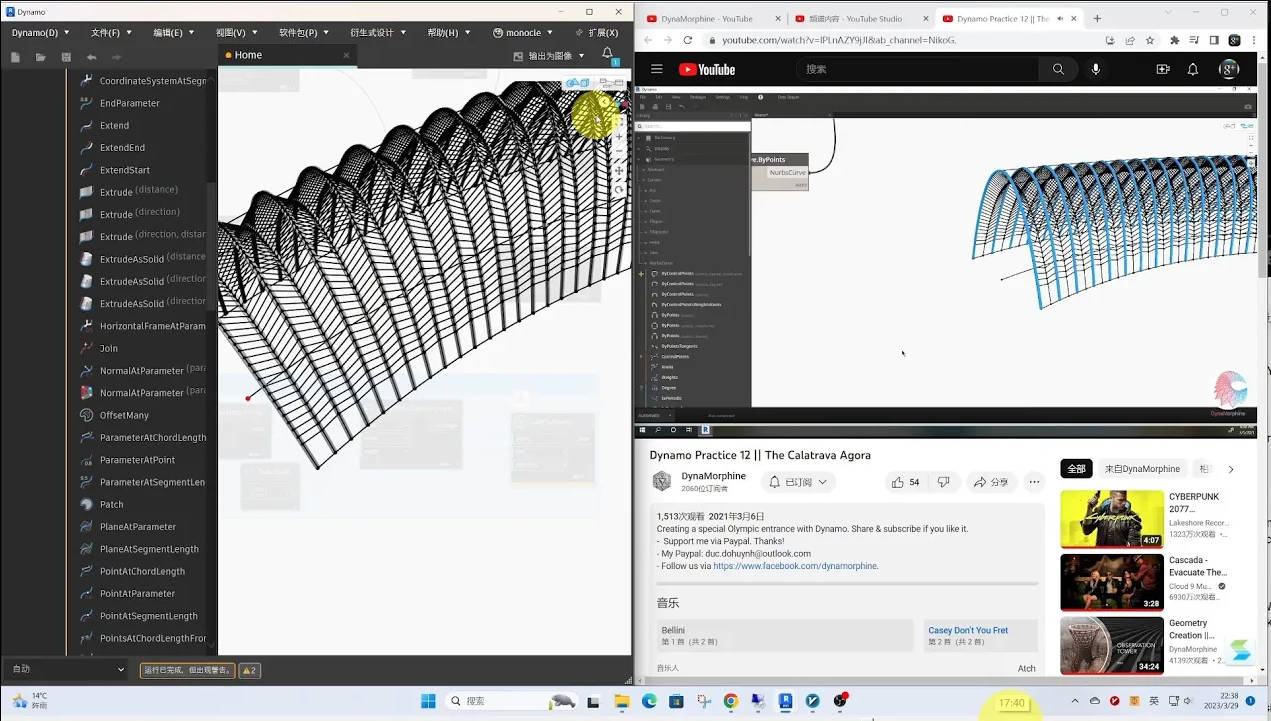
Do you also learn to make dynamo graph while watching the video? In fact, I used this way to learn how to model The Gherkin using dynamo, a bullet-shaped building in London, England. It was also the beginning of my transition from Grasshopper to Dynamo and the beginning of the workflow. After that I knew how to use the complex geometric shapes generated by Dynamo in Revit, because unlike Rhinoceros, Dynamo does not bake, but uses another method.
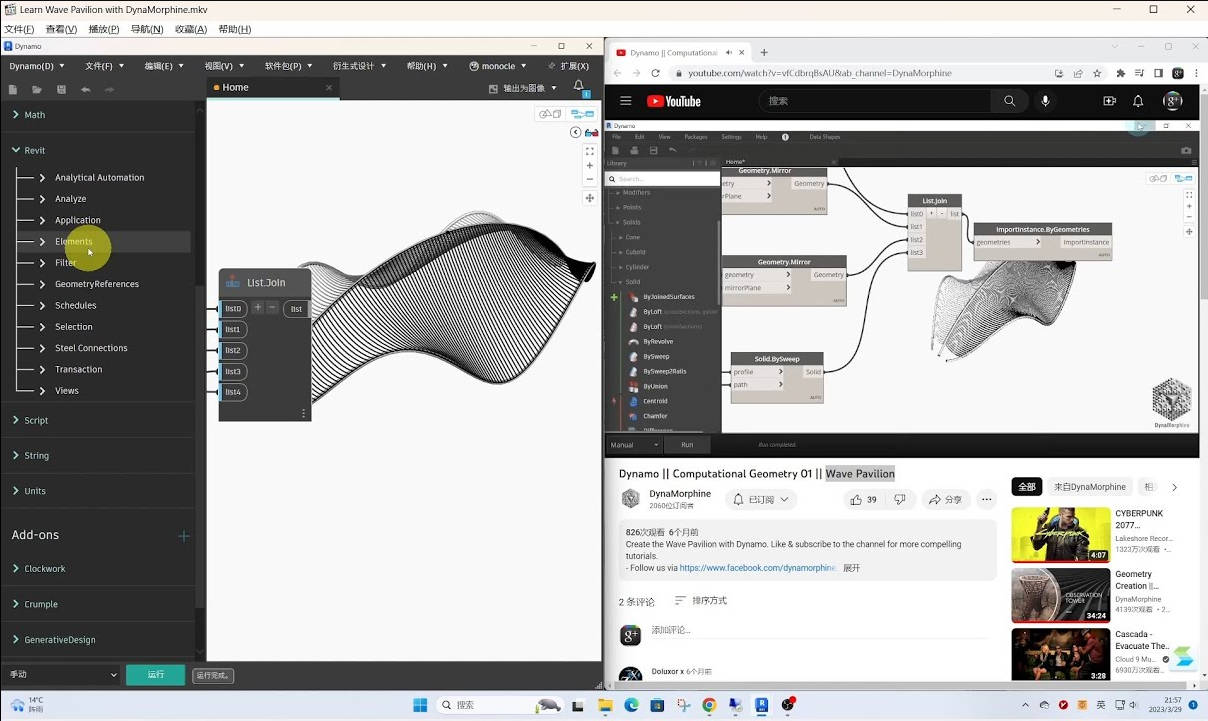
In this video, I learn from another video blogger DynaMorphine, and see how to make the same content from his videos.
This is also from another video on the DynaMorphine channel. I followed the video step by step. Mutual communication and learning are also an important way to improve.
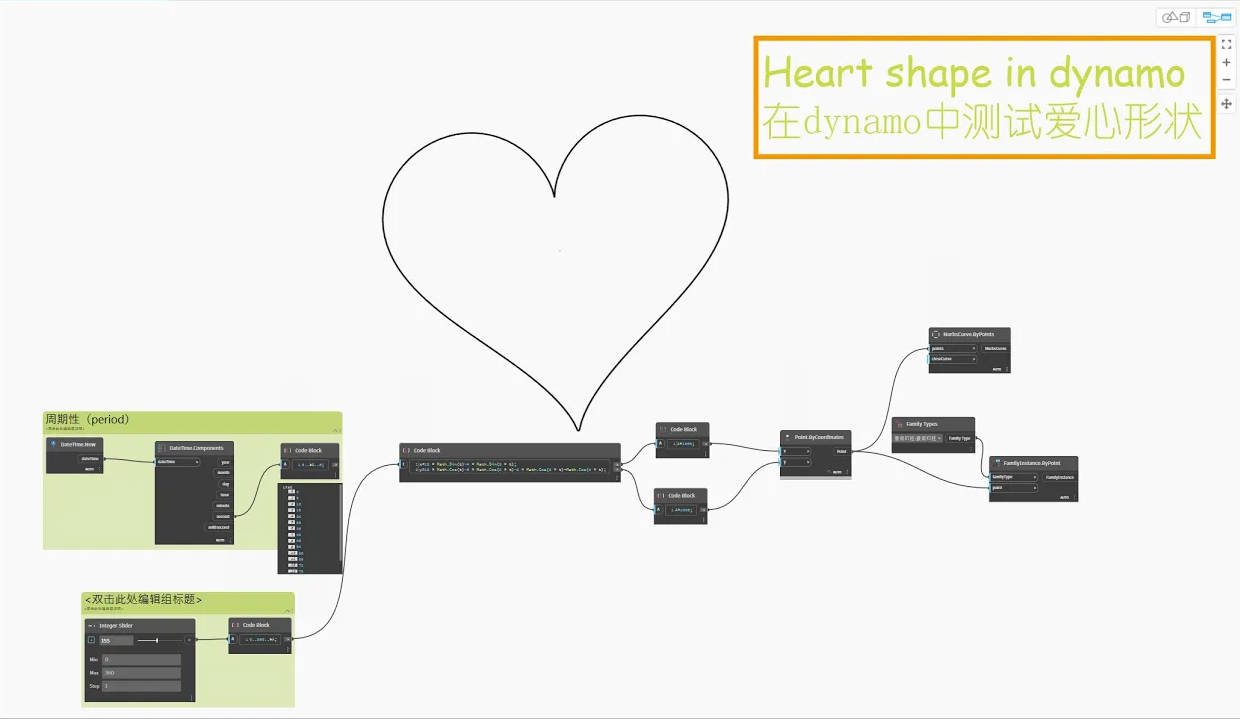
I only found out later that there was a formula for this heart shape, so I tried it in Dynamo. As long as you have the formula, you can do parametric design, because you can control the changes in unknown variables and get a series of changing function values.
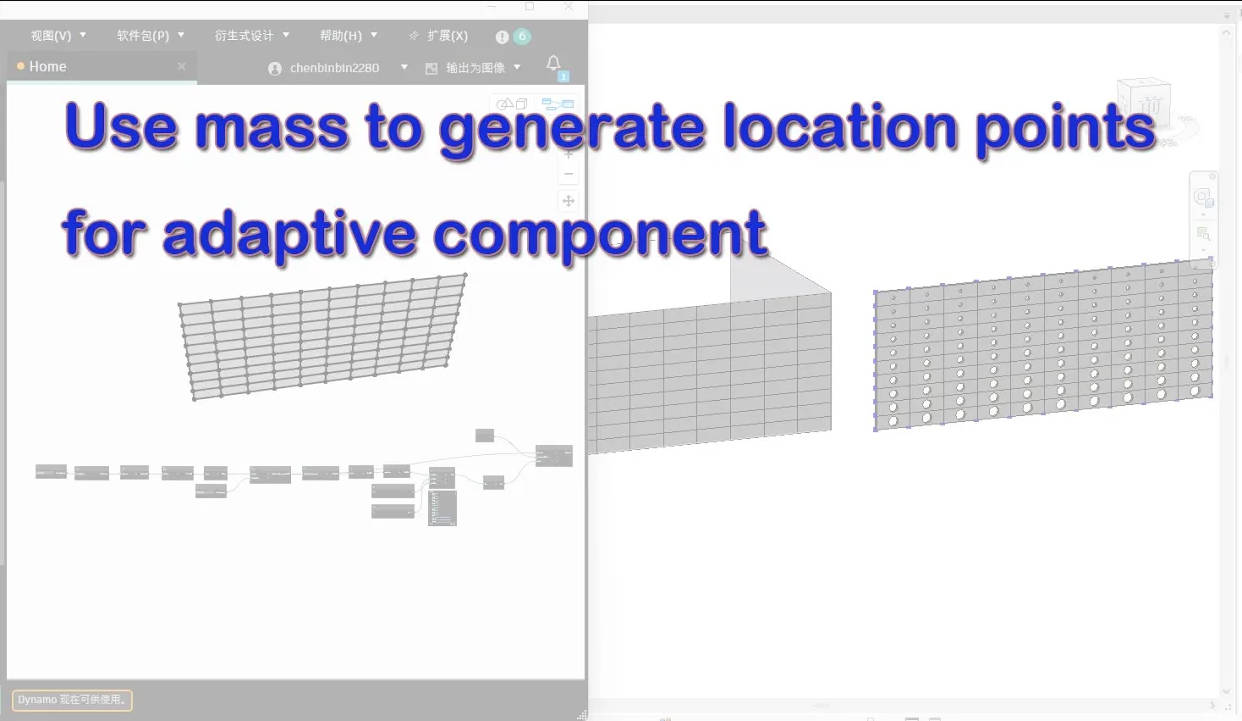
In the past, the positioning points of adaptive components needed to be created by manually splitting the surface. Later, I learned that the positioning points can also be obtained through the existing split mass in Revit. This is another method, but it requires that the mass has been manually split.Both method depends on the actual situation。
Both methods are simple and practical, choose the one you like.
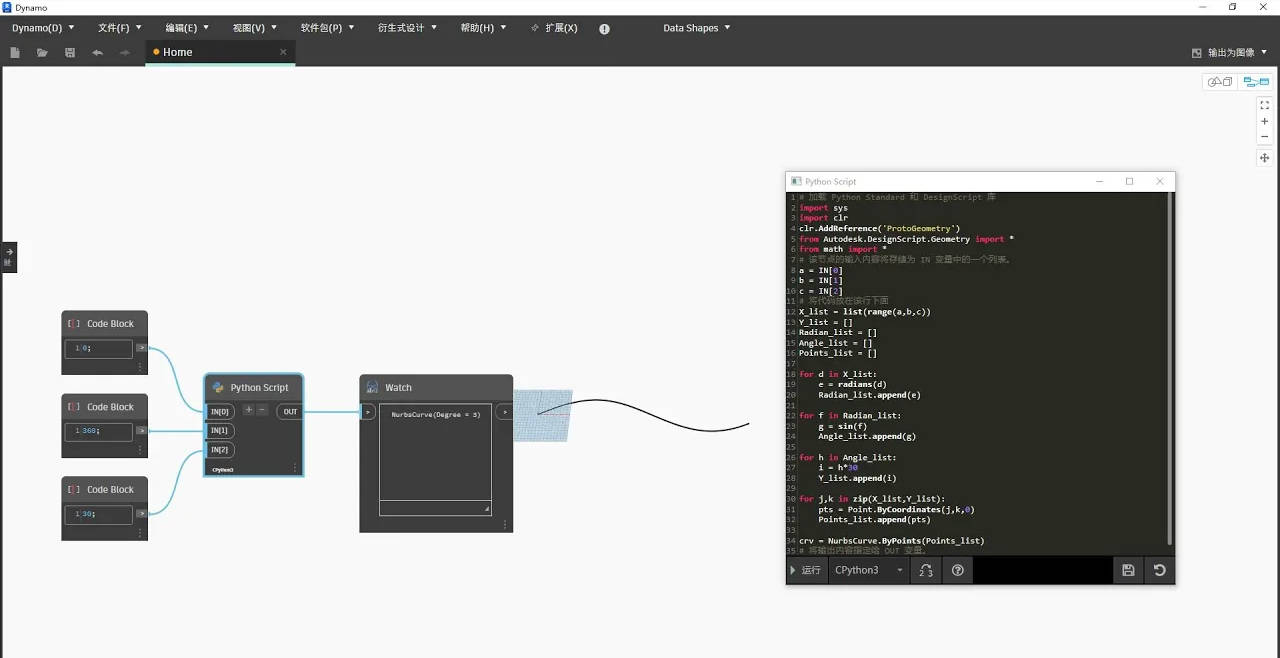
The Python script node can of course also create curves that we create through other OOTB (Out of the box) nodes. I tried it this time and the effect is similar.
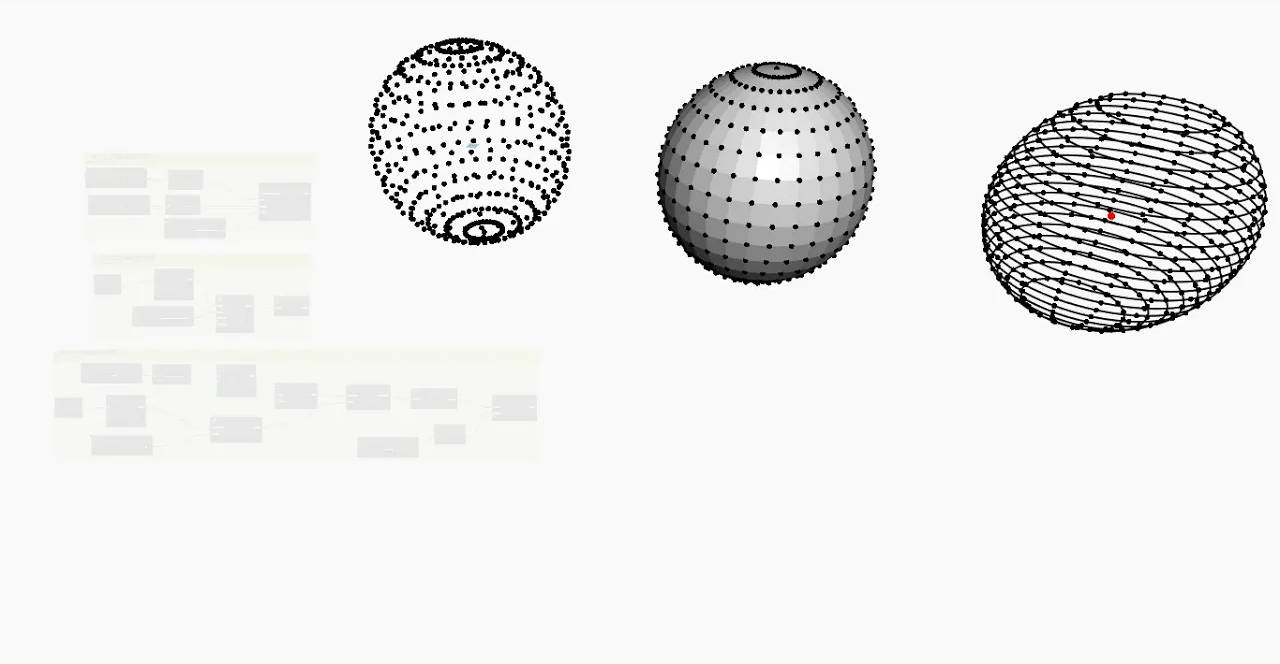
I found 3 ways to make Spherical Points,now I share it,hope it could help someone.
It's not perfect for now,but it's great in my opinion,I‘m not that good at using python to get access to RevitAPI,Maybe it's a great tool in the future to help me do a lot of things.Sadly I could get use chatGPT from China freely,I get help from my friends to do that.
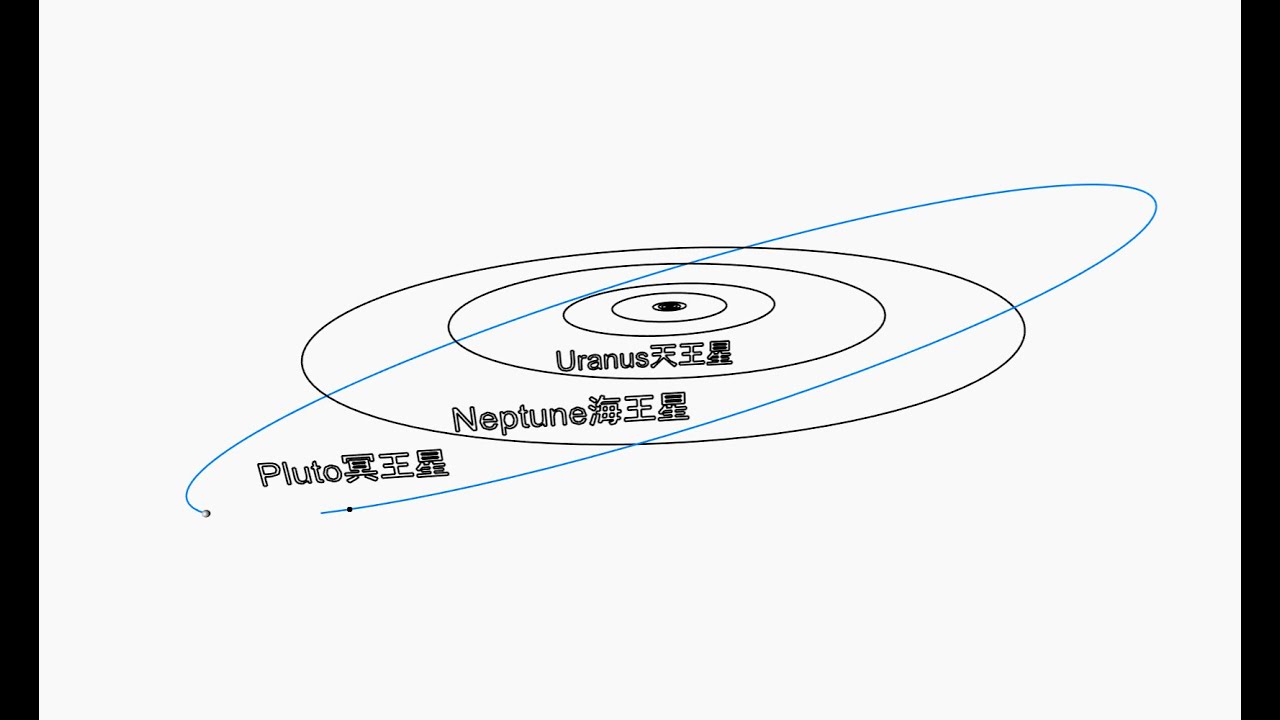
I use the period function of dynamo to simulate the orbit of the Pluto.
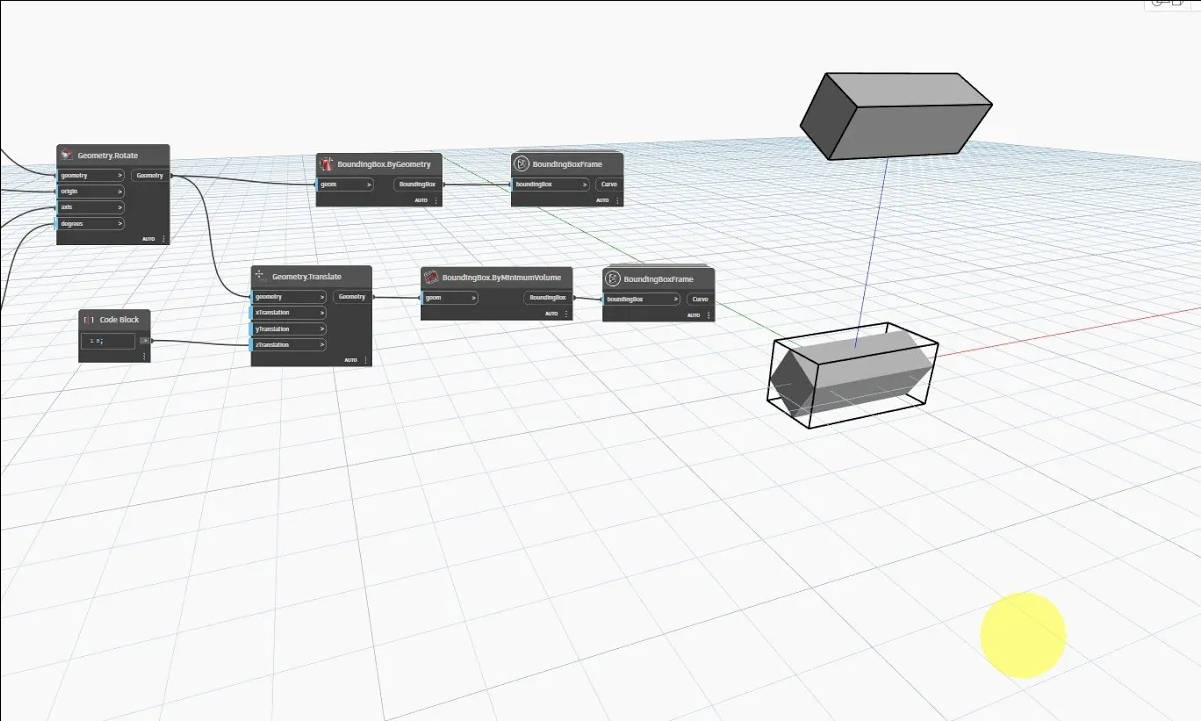
Dynamo 2.17 combined with Revit 2024 has been released and I found there is new node called "BoundingBox.ByMinimumVolume" which works diffrently than before.If you have installed Revit2013.1 update you can have this node in Dynamo 2.16 as well
I found dynamo has add this new node as out of the box nodes,it's intersting and useful.